Installation and configuration of the Joomla! component
Table of Contents:
- Installation and configuration of the Joomla! component
- Configuration of the component
- Publishing images
- Uninstalling of LR-Connect
Installation of the component
- Download the Joomla! LR-Connect installation file.
- Open the admin interface of the Joomla! installation in which you want to install the component.
- Navigate to
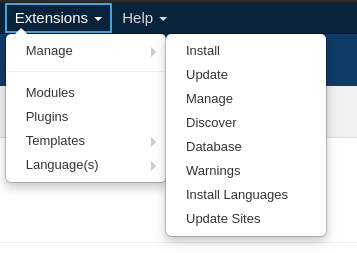
“Extensions” -> “Manage” -> “Install”
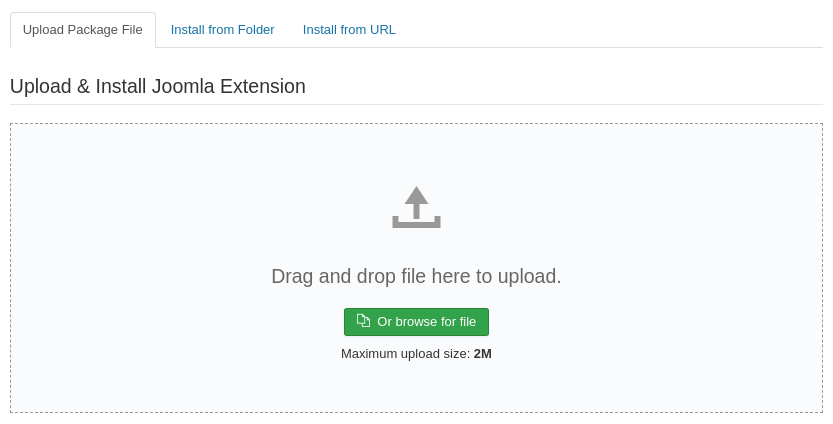
- Choose the tab “Upload package file” and upload the LR-Connect installation file via drag'n'drop
Configuration of the component
- Open the admin interface of the Joomla! installation in which the LR-Connect component is installed.
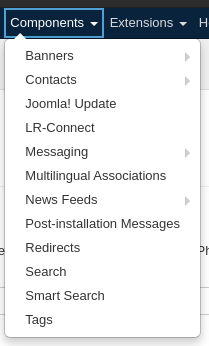
- Navigate to “Components” -> “LR-Connect”.
- Generate an access key by clicking the button “Generate new access key”. The key is required for the communication of the Lightroom plugin and the Joomla! component.

- If you use the full version please store your license key in the respective text field and confirm the input by clicking on “Save and activate”

More information about the LR-Connect components can be found on the documentation page: Documentation Joomla! Component
Publishing images
Images that were synchronized with LR-Connect can be published in different ways on a Joomla! page:
-
Publishing of collections and images via a menu item
- Publishing of collections, images, and slide shows in a Joomla! article
Both possibilities are described in the respective documentation page (documentation of creating a menu item, documentation LR-Connect Joomla! plugin). Following is a short description of how one can publish collections images via a menu item:
Publishing of images via a menu point:
- Open the admin interface of the Joomla! installation in which the LR-Connect component is installed.
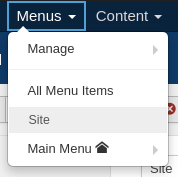
- Navigate to “Menus” - > “All menu items”
- Edit the existing menu item or create a new item.
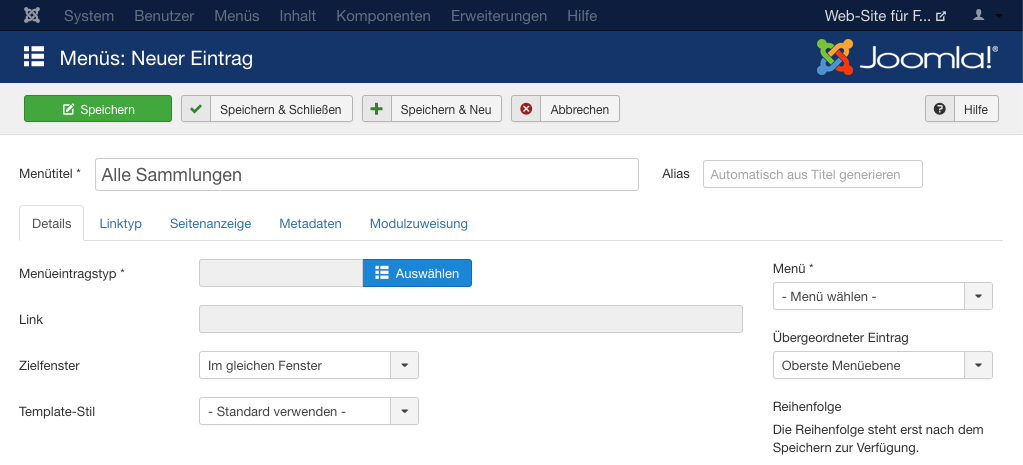
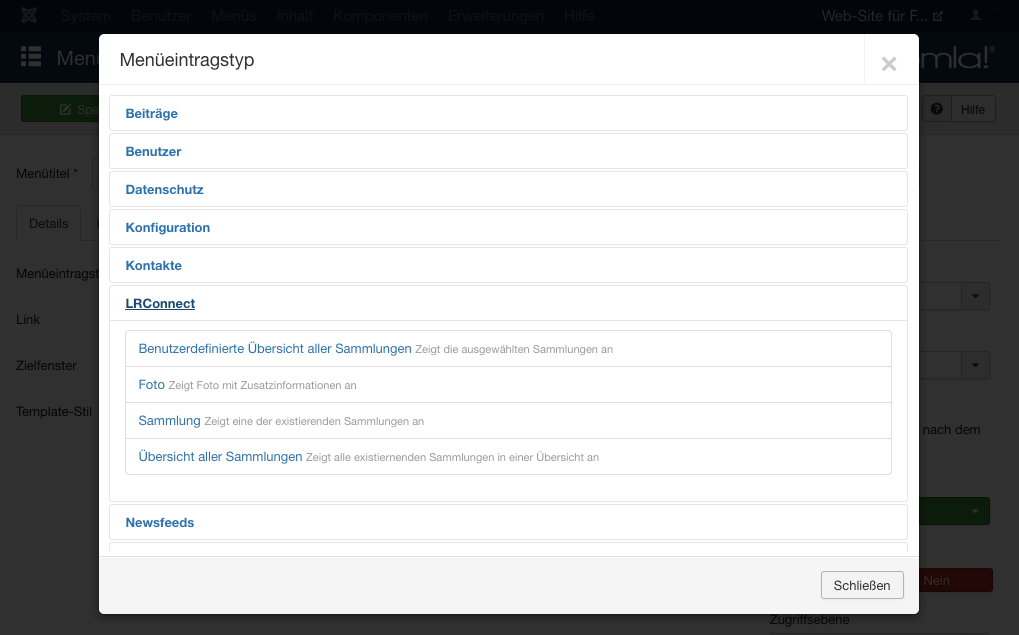
- Click in the field “type of menu item” the button “Select” and select in the resulting windows in the category “LRConnect” for example “Overview ao all collections”.
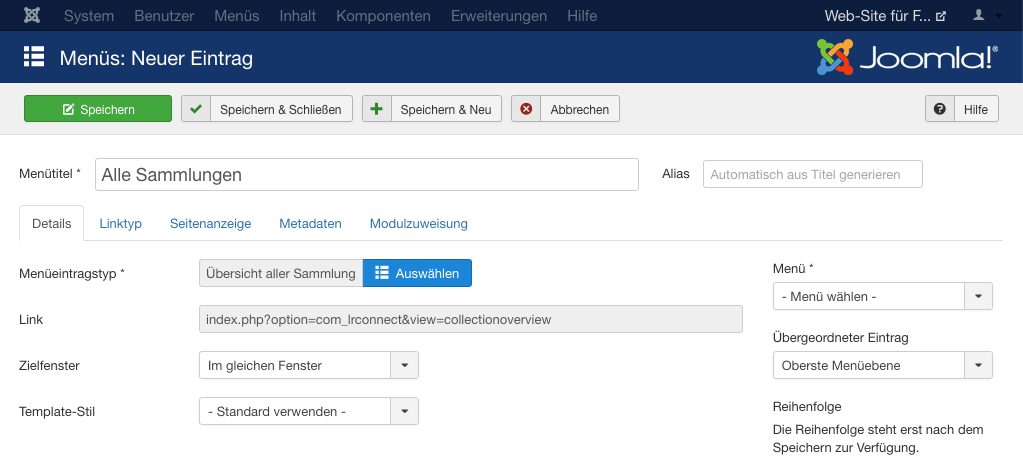
- After the selection, the type of the menu item will be displayed with the respective options in the window for the definition of the new menu. Then click on the button “Save and Close”.
More information for the creation of menu items can be found here: Documentation creating menu items
Uninstalling of LR-Connect
- Open the admin interface of the Joomla! installation in which LR-Connect is installed.
- Navigate to “Extensions” -> “Manage” ->“Manage”

- Search for “LRConnect”
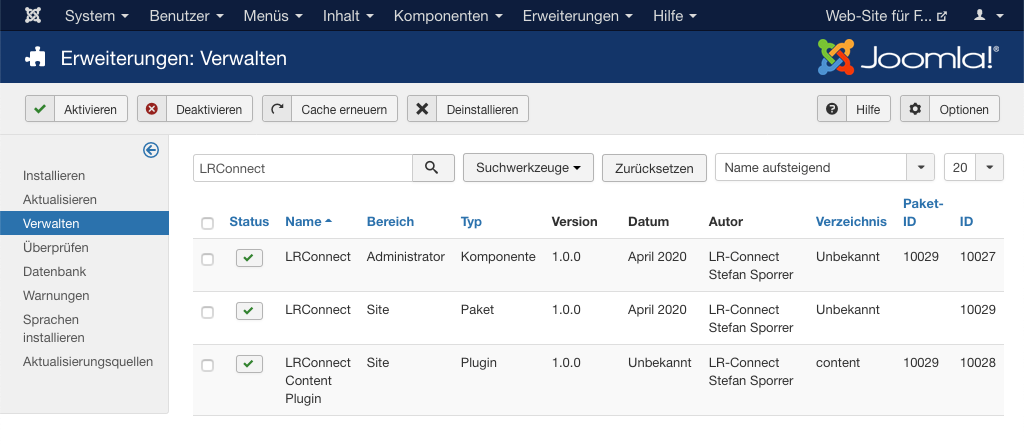
- Select the checkbox of the LR-Connect component, the one of the LR-Connect package, and the one of the LR-Connect plugin and then click on the button “Uninstall”.
LR-Connect will be uninstalled completely as well as all the synchronized images.


